ShopDreamUp AI ArtDreamUp
Deviation Actions

Hey peepos! Sorry about lack of activity. Semester 1 of my senior year in college has passed and I've been hard at work managing games, programming, learning about handling computer graphics rendering, etc!
Today I wanted to show you a bit of what I've been working on for of their Scarfox, Malifore. As you know, I've been hard at work making the Holofoil statcard which was auctioned off back in October. Because of school, I've had to put off finishing it for a while. However, I can show you a bit of the process! So if you're familiar with how I build the statcards, this is a bit more complicated than the last ones.
Cards are composed of a front and back (obviously). This card theme was a bit more complex than the last one as it involved crazy crystals (YAY) and moving ruins and sand in the background. I usually do a rough sketch of the concept and then section it off to create the final animated build rig. For this piece, i decided to section out the crystal frame with the rest of the background elements to create more scene depth.
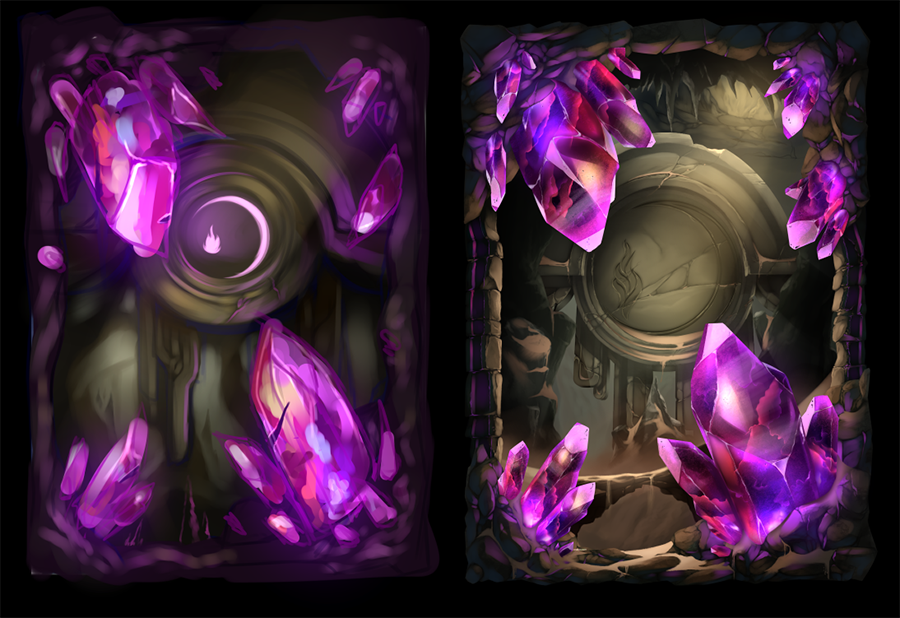
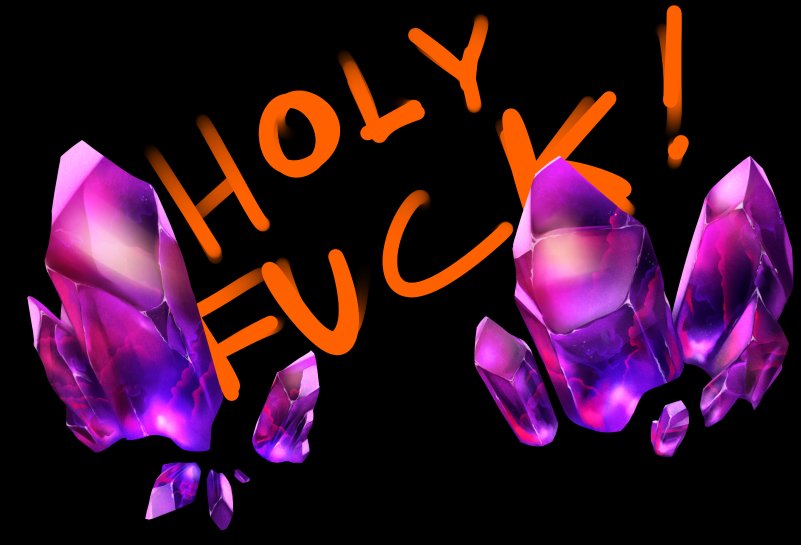
The image on the left is the concept sketch, the one on the right is the final cardback. Also, DEM CRYSTALS MAN! Had to teach myself how to paint these puppies over a few days.
Once I sectioned these out. I created a run cycle for the scarfox character to run in the background. That, coupled with a crystal explosion and necessary particle systems, we get the rendered cardback to look like this!

BTW, the run cycle shadow is done with hybridizing aftereffects automations for the arms at 30fps and a leg cycle at about 15-20fps over 10 frames.. This gives the illusion of the entire run being 30fps when its actually not. Saves me time without sacrificing the appearance of the character moving. We took this rig and mapped it to the crystals in the frame to give the appearance of them picking up the silhouette and distorting them. This was done using a displacement mask in AE.
With the back of the card done, I unfortunately had finals in school, so I was unable to get to painting the main character side until the last few days. However, if you were lucky enough to find my streams, you could see the entire workflow. I started with sketching the base character and defining the unique rig components in paint tool SAI and made a sketch of how I wanted the final cardface to be assembled.
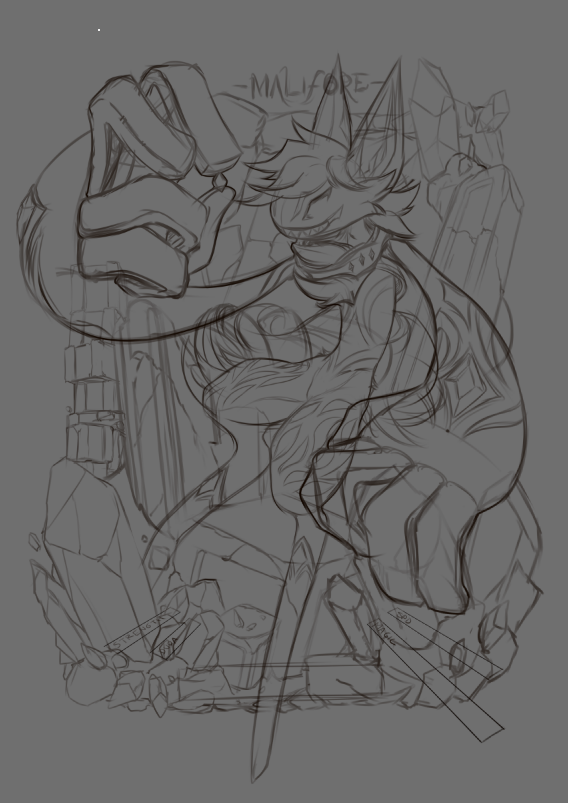
I really wanted the card layout to emphasize the art with the text and bars being framing elements, but not obscuring the overall art. I usually do 3-4 sketch passes, each one refining the composition down until I have a very clear roadmap of what I want to paint. I'm honestly terrible with vague sketches. I then painted the elements according to the sketch ordering, making sure that the layers were sectioned properly so I can animate them in aftereffects. I ended up with this after 3 days of painting in paint tool SAI:
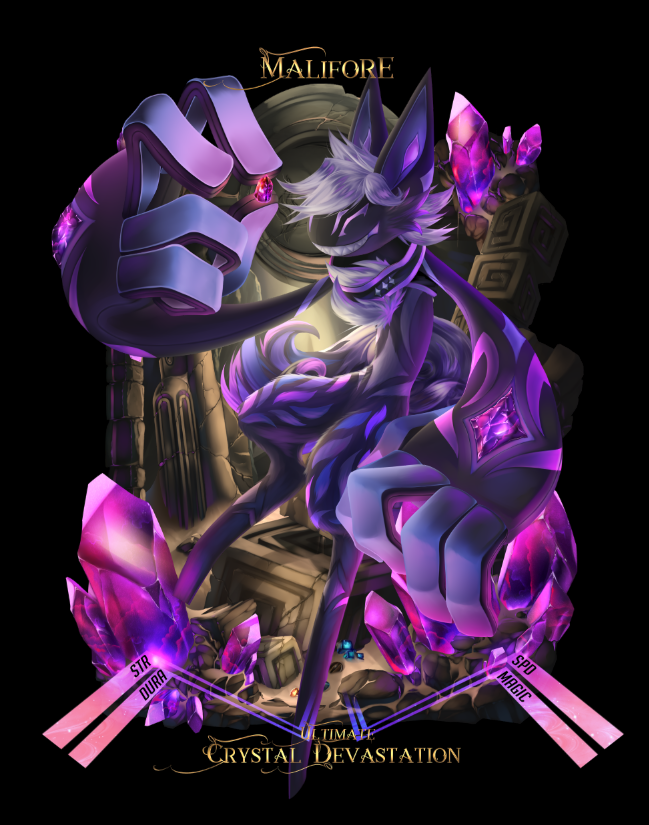
The next step? Importing this card and bringing it to life in aftereffects (which I start doing tomorrow). Hopefully it turns out alright!
if you want more WIP progress, please follow me on my twitter! twitter.com/DanSyronArt
You can also follow me on facebook! www.facebook.com/DanSyron/
I hope you guys are doing well, staying warm, and enjoying your December!
~Dan
_____
character belongs to SLYMaster58 and GQuin, Scarfoxes are a closed species belonging to Kawiku
Tools used: Photoshop cs6, Paint tool SAI (for painting and frame by frame animating), and Aftereffects cs6. Particles used in trapcode particular (which is amazing btw, and you should totally snag if you have aftereffects).
Today I wanted to show you a bit of what I've been working on for
of their Scarfox, Malifore. As you know, I've been hard at work making the Holofoil statcard which was auctioned off back in October. Because of school, I've had to put off finishing it for a while. However, I can show you a bit of the process! So if you're familiar with how I build the statcards, this is a bit more complicated than the last ones.Cards are composed of a front and back (obviously). This card theme was a bit more complex than the last one as it involved crazy crystals (YAY) and moving ruins and sand in the background. I usually do a rough sketch of the concept and then section it off to create the final animated build rig. For this piece, i decided to section out the crystal frame with the rest of the background elements to create more scene depth.
The image on the left is the concept sketch, the one on the right is the final cardback. Also, DEM CRYSTALS MAN! Had to teach myself how to paint these puppies over a few days.
Once I sectioned these out. I created a run cycle for the scarfox character to run in the background. That, coupled with a crystal explosion and necessary particle systems, we get the rendered cardback to look like this!
BTW, the run cycle shadow is done with hybridizing aftereffects automations for the arms at 30fps and a leg cycle at about 15-20fps over 10 frames.. This gives the illusion of the entire run being 30fps when its actually not. Saves me time without sacrificing the appearance of the character moving. We took this rig and mapped it to the crystals in the frame to give the appearance of them picking up the silhouette and distorting them. This was done using a displacement mask in AE.
With the back of the card done, I unfortunately had finals in school, so I was unable to get to painting the main character side until the last few days. However, if you were lucky enough to find my streams, you could see the entire workflow. I started with sketching the base character and defining the unique rig components in paint tool SAI and made a sketch of how I wanted the final cardface to be assembled.
I really wanted the card layout to emphasize the art with the text and bars being framing elements, but not obscuring the overall art. I usually do 3-4 sketch passes, each one refining the composition down until I have a very clear roadmap of what I want to paint. I'm honestly terrible with vague sketches. I then painted the elements according to the sketch ordering, making sure that the layers were sectioned properly so I can animate them in aftereffects. I ended up with this after 3 days of painting in paint tool SAI:
The next step? Importing this card and bringing it to life in aftereffects (which I start doing tomorrow). Hopefully it turns out alright!
if you want more WIP progress, please follow me on my twitter! twitter.com/DanSyronArt
You can also follow me on facebook! www.facebook.com/DanSyron/
I hope you guys are doing well, staying warm, and enjoying your December!
~Dan
_____
character belongs to SLYMaster58 and GQuin, Scarfoxes are a closed species belonging to Kawiku
Tools used: Photoshop cs6, Paint tool SAI (for painting and frame by frame animating), and Aftereffects cs6. Particles used in trapcode particular (which is amazing btw, and you should totally snag if you have aftereffects).

Print Run PREORDERS open until July 14
https://www.etsy.com/shop/DanSyron Doing a new etsy run for Posters! This includes the newest Abysm pieces as well as some very requested fan pieces. There are also specials for multiple posters in the same order. Please feel free to give it a look, see if there's anything you like. PREORDERS WILL CLOSE JULY 15th after which they will be sent for printing via catprint.com
will be mostly inactive here
Hi all, flash is dying so with that, this gallery and its real reason for existing is probably defunct. I'll still be uploading still pieces here, but my animations will be remastered and posted to other sites. My new dedicated location for purely artbased posts will be here. Also thanks for the birthday wishes. https://twitter.com/VoxVulpine
a few months behind here.
shit, i forgot to upload stuff again. Gimme a bit to get it to you, eclipse kinda ruined everything, but I have 3 months of stuff thats ready to post. (although its way easier to find me anywhere else, this website is garbo) I'm not dead, but yeah shits bad. Hi
Find me on Pillowfort
https://www.pillowfort.social/DanSyron It has mp4 imgur animation support. You can now find all of my animation work on there (as soon as I get to mass uploading it) dA kinda sucks now so yeah :)
© 2016 - 2024 DanSyron
Comments8
Join the community to add your comment. Already a deviant? Log In
God almighty, this is just too damn perfect. . . .
I'm totally gonna catch the stream when it comes around")
I'm totally gonna catch the stream when it comes around